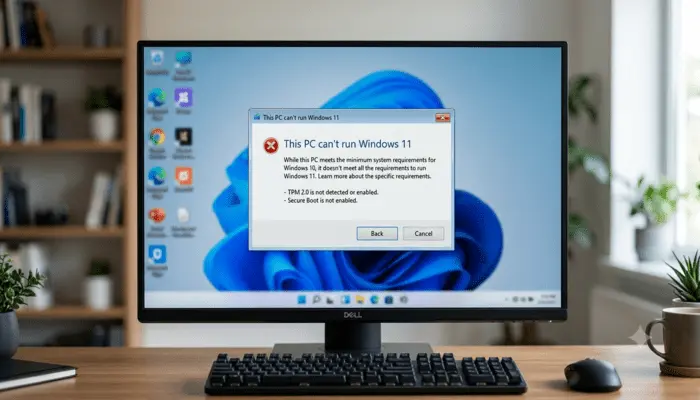
Windows 11 Stuck in Restart Loop on Unsupported Hardware? Here’s the Fix
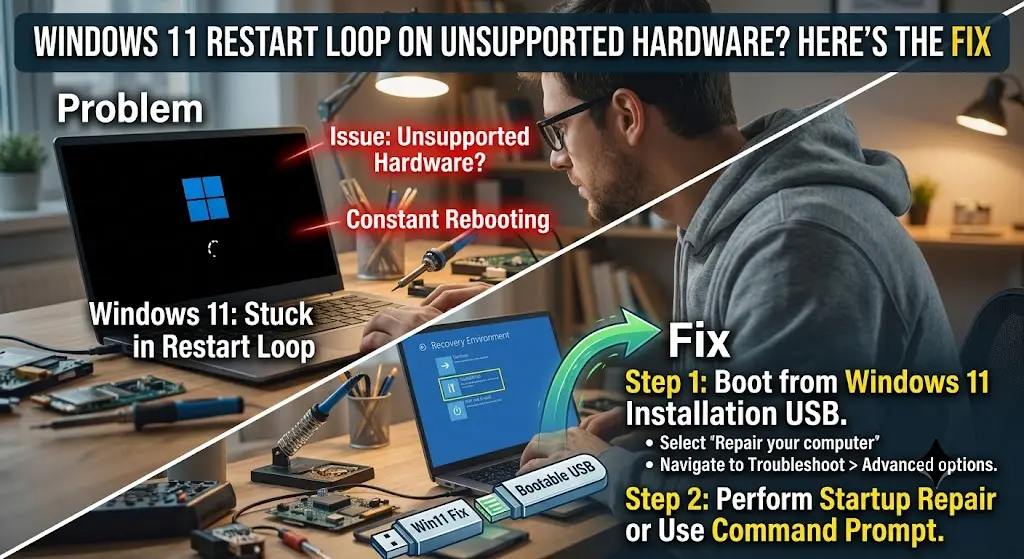
If your PC is stuck in a restart loop after installing or updating Windows 11 on unsupported hardware, you are not alone, and it is not random bad luck.
This is one of the most common outcomes when Windows 11 is installed on a CPU or motherboard that Microsoft never certified for it, and it has a specific set of causes and fixes rather than one single solution.
This guide walks through why the loop happens specifically on unsupported hardware, how to tell it apart from a generic installation failure, and the fixes that have actually worked for people in the same situation, in the order you should try them.
If you run into other Windows 11 issues down the line, our full library of Windows 11 fixes and guides covers most of the common problems people hit after upgrading.
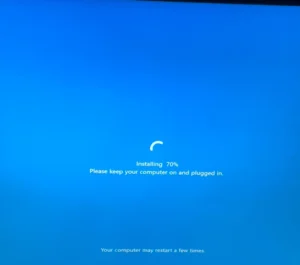
Why This Happens on Unsupported Hardware Specifically
When you bypass Windows 11’s CPU and TPM 2.0 requirements, you are not just skipping a warning screen. You are removing checks that Windows normally relies on to confirm the hardware can complete certain steps safely. Three things commonly go wrong as a result:
- The bypass was only partial. Some methods skip the setup-time check but leave TPM or Secure Boot validation active later in the install, so the process fails midway and restarts.
- The board predates UEFI. Older motherboards using legacy BIOS and MBR partitioning were never designed for Windows 11’s boot process, so installation media that works fine on modern hardware just loops on these boards.
- Firmware is out of date. Windows 11 setup can behave unpredictably on old BIOS versions that have never been updated, even on hardware that is technically close to the requirements.
Real cases follow this pattern closely. One user running Windows 11 on a pre-UEFI board (MSI P6N SLI V2 with an Intel QX6850) described exactly this: the Windows 11 logo would appear on a black screen, then after about 30 seconds the machine would restart and repeat the cycle, regardless of whether the installation media was a USB flash drive or a SATA drive. Other users in the same thread confirmed the CPU was not on Microsoft’s supported list at all.
Step 1: Confirm This Is Actually a Hardware-Support Issue
Before trying fixes, rule out the simpler explanation. Two quick checks:
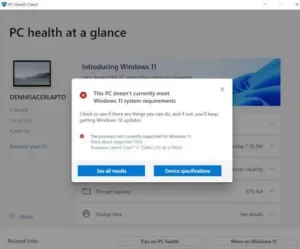
- Check your CPU against Microsoft’s official supported processor list. If it is missing, you are dealing with an unsupported-hardware issue and the fixes below apply directly.
- Confirm how you installed Windows 11. If you used a registry bypass, a modified Rufus image, or the setupprep.exe method to skip the CPU/TPM check, that bypass is the most likely source of an incomplete or unstable install.
You can check the current list here: Microsoft’s supported Intel processors for Windows 11.
If your CPU is on the list and this is a fresh, unmodified install, the loop is likely unrelated to hardware support, and you should look at driver or update-related causes instead.
Fix 1: Try Startup Repair Before Anything Else
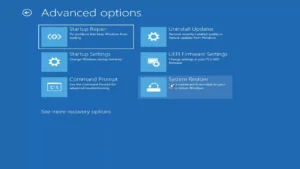
This is the safest first step and does not risk your data. From the Windows Recovery Environment (accessible by interrupting the boot process three times, or by holding Shift while selecting Restart):
- Select Troubleshoot, then Advanced options, then Command Prompt.
- Run chkdsk to check for disk errors.
- Run sfc /scannow to scan and repair system files.
- Run bootrec /fixmbr, followed by bootrec /fixboot, to repair the boot record.
- Exit the command prompt and continue to see if Windows boots normally.
If bootrec /fixboot returns an access denied error, you may need to run bootsect /nt60 sys /mbr afterward, depending on your partition style.
Fix 2: Reapply the Unsupported Hardware Bypass Registry Key
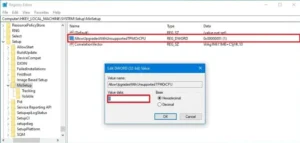
If the loop started after an update rather than the initial install, the most common cause is that the update process re-triggered a hardware check the original bypass did not fully disable. The fix that has worked consistently for users in this situation is setting the registry key that explicitly allows upgrades on unsupported TPM or CPU configurations:
- From Advanced options, open Command Prompt and launch regedit.
- Navigate to HKEY_LOCAL_MACHINE\SYSTEM\Setup\MoSetup.
- Create a new DWORD (32-bit) value named AllowUpgradesWithUnsupportedTPMOrCPU and set it to 1.
- Restart and retry the installation or update.
This key does not guarantee Microsoft will continue supporting future updates on the same hardware, but it resolves the specific case where the loop is caused by the setup process re-checking compatibility mid-installation.
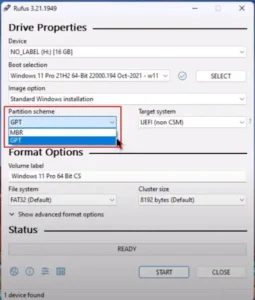
Fix 3: Recreate Installation Media With the Correct Partition Scheme
A significant number of restart-loop cases trace back to installation media that does not match the target board’s boot mode. This matters even more on unsupported, older hardware:
- Pre-UEFI boards (like older Core 2 Quad-era systems) need MBR partitioning and legacy boot mode. Creating a GPT-formatted USB for this kind of board will produce exactly the symptom described above: logo, then restart, on a loop.
- Use a fresh USB drive formatted specifically for the install. A previously used or low-quality drive is a common, overlooked cause of incomplete file transfers during setup.
- Prefer the official Media Creation Tool or a direct ISO mount over third-party tools when troubleshooting, since a misconfigured Rufus bypass can itself introduce the very inconsistency you’re trying to fix.
If you have not already set up the unsupported-hardware bypass from scratch, the full walkthrough is in our guide on how to install Windows 11 on an unsupported CPU.
Fix 4: Update the BIOS and Clear CMOS Before Reinstalling
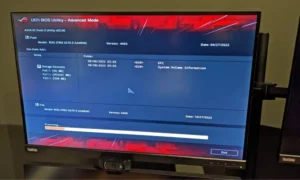
On older boards, an outdated BIOS is frequently the actual root cause, even when everything else about the install looks correct. In one documented case, a user resolved a persistent restart loop by downloading the latest BIOS version from the motherboard manufacturer’s site, flashing it via a USB-based update tool, and only then retrying the Windows 11 boot media, which worked without further issues.
- Identify your exact motherboard model and current BIOS version.
- Download the latest BIOS update from the manufacturer’s support page, not a third-party mirror.
- Follow the manufacturer’s flashing procedure exactly, since an interrupted BIOS flash can cause far more serious problems than a restart loop.
- After flashing, clear CMOS by removing the battery or using the board’s CMOS reset jumper, then retry the installation.
Fix 5: Recognize When the Hardware Genuinely Won’t Support It
It is worth being direct about this: some CPUs are old enough that no bypass will produce a stable Windows 11 install, particularly once feature updates like 24H2 enter the picture. In the MSI P6N SLI case referenced earlier, other users in the thread confirmed the CPU was roughly 18 years old and pointed out plainly that even successful legacy workarounds tend to break down at the next major update.
If you have gone through Fixes 1 through 4 without success, and your CPU predates the supported list by more than a few generations, the more realistic paths are staying on Windows 10 for as long as security updates continue, or moving to a Linux distribution that still supports the hardware well. Neither is a failure; it is a reasonable response to hardware that was never part of Windows 11’s design target.
If the Loop Started After a Windows Update, Not the Initial Install
A restart loop that appears immediately after installation is a different problem from one that appears after a later update on a machine that was previously working. If your unsupported-hardware install was stable for weeks or months and only started looping after a feature update, see our dedicated guide on Windows 11 updates not installing on unsupported PCs, which covers the manual ISO update method that avoids triggering this exact failure.
Frequently Asked Questions
How do I fix an infinite restart loop in Windows 11?
Start with Startup Repair from the Recovery Environment, then check whether the cause is hardware-support related (see Fix 2) or media/partition related (see Fix 3) before assuming it is a deeper corruption issue.
How do I bypass the unsupported CPU check on Windows 11?
The most reliable current method is setting AllowUpgradesWithUnsupportedTPMOrCPU to 1 under HKEY_LOCAL_MACHINE\SYSTEM\Setup\MoSetup in the registry before installation or update. See Microsoft’s official Windows 11 download page for the ISO needed to do this.
Can Rufus bypass Windows 11 requirements safely?
Rufus can create bypassed installation media, but a mismatched partition scheme (GPT versus MBR) or an outdated Rufus version is a common source of restart loops on older boards. If Rufus-created media loops, try the official Media Creation Tool or a manual ISO mount instead before concluding the hardware itself is at fault.
Is it safe to keep unsupported hardware on Windows 11 long-term?
It depends on how critical the machine is. For general or legacy use, it is workable as long as you are prepared to manually handle feature updates and accept that some updates may eventually stop installing cleanly. For anything mission-critical, the lack of official support is a real limitation, not just a formality.
Summary
A Windows 11 restart loop on unsupported hardware almost always comes down to one of four things: an incomplete bypass, a mismatched partition scheme, outdated BIOS, or hardware that has genuinely reached the end of what any workaround can fix. Work through Startup Repair first, then the registry bypass key, then media and BIOS checks, in that order, before deciding the hardware itself is the limiting factor.
This guide is maintained based on real installation reports from Reddit, Microsoft Answers, and firsthand testing on legacy hardware, and will be updated as new fixes are confirmed.

Related Articles